BACKGROUND
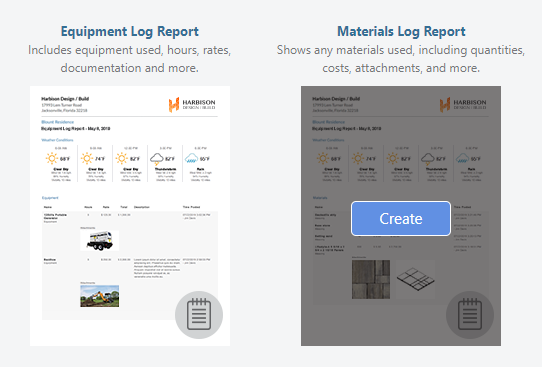
Thanks to ConstructionOnline's construction daily logging software, construction companies can create, manage, and store all of their project information in one safe and secure location. With nine specialized construction daily log types available, ConstructionOnline™ Users are equipped with a variety of options to ensure that the necessary project details are documented in every instance. Company Users can also compile project details into professionally branded construction daily reports, which can be easily shared to clients or other stakeholders. With the Materials Log Report, Company Users can break down the total materials used for a project––improving overall material management & inventory visibility.
This article contains the following sections:
STEPS TO CREATE A MATERIALS LOG REPORT
- Navigate to the desired Project via the Left Sidebar.
- Select the Project Tracking tab and choose the Project Tracking Reports category.
- Hover over the Material Log Report and click the blue "Create" button to begin creating your report.
- Within the Material Log Report window, choose from the following details to customize your report:
- Within the Details tab:
- Select Project
- Choose the Project you would like to generate the Material Log Report from.
- The current Project is selected by default.
- Use the dropdown menu to select any other individual ConstructionOnline™ Project or to create a report for "All Projects".
- Projects appear in alphabetical order within the dropdown menu.
- Select day or date range to generate report for
- To select a specific day or date range you can either:
- Select one of the predefined Date Ranges from the Date Range dropdown menu.
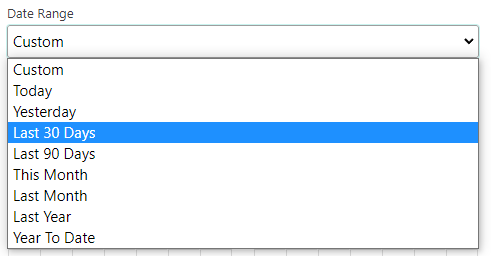
♦ Note: Selecting a Date Range will automatically populate the respective dates within the Start Date & End Date fields below. - OR Choose the "Custom" option from the Date Range dropdown menu and select a custom date range by either typing the desired dates into the Start Date and End Date fields or selecting the desired dates from the calendars that appear when clicking into the Start Date & End Date fields.
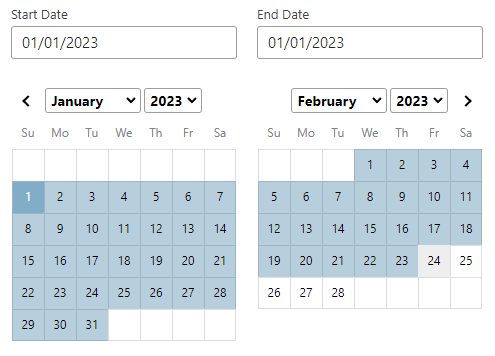
♦ Note: Dates selected from the calendars will automatically populate to the Start Date and End Date fields.
- Select one of the predefined Date Ranges from the Date Range dropdown menu.
- To select a specific day or date range you can either:
- Choose the Project you would like to generate the Material Log Report from.
- Filter report by
- Related Contact: Choose to filter the Material Log Report by clicking into the Related Contact field and either typing the Contact name or choosing the Contact name from the dropdown menu.
- Related Contacts must be attached to the Material Log(s) when created.
- Material Log Reports can only be filtered by one Related Contact.
- The current user appears within the dropdown list first, followed by all Company Contacts organized in alphabetical order.
- Log Creator: Choose to filter the Material Log Report by clicking into the Log Creator field and either typing the Contact name or choosing the Contact name from the dropdown menu.
- Material Log Reports can only be filtered by one Log Creator.
- The current user appears within the dropdown list first, followed by all Company Contacts organized in alphabetical order.
- Related Contact: Choose to filter the Material Log Report by clicking into the Related Contact field and either typing the Contact name or choosing the Contact name from the dropdown menu.
- Report Options:
- Choose from other customization options by selecting or deselecting the ☑️ check mark beside the report option. Other Material Log Report Options include:
☑️ Show weather tracking
◻️ Print each day on a separate page
☑️ Include attachment preview
- Choose from other customization options by selecting or deselecting the ☑️ check mark beside the report option. Other Material Log Report Options include:
- Select Project
- Within the Header & Footer tab:
- Default Header & Footer Settings will apply for companies with Pro or Team Plans.
- Companies with Business or Enterprise Plans can choose to apply custom Header & Footer sets to the document.
- Headers & Footers are managed at the Company level.
- To manage Header & Footer sets, click on the Manage Header & Footer Sets hyperlinked text.
- Within the Details tab:
- Finalize the details of your Material Log Report by clicking the blue "Create" button.
- The Material Log Report will open in a new browser tab for you to Share (via email), Save (to ConstructionOnline Files), Download (as PDF), Edit (in built-in text editor), or Print.
ADDITIONAL INFORMATION
- Material Log Reports can only be created from "Active" ConstructionOnline™ Projects.
- If the Project you are attempting to generate a report from is "Archived," you can easily activate it to restore access to Project Files and details.
- Permissions: ConstructionOnline™ Company Users with Daily Logging permissions set to "Can Create, Edit, & Delete" can create Daily Log reports, including the Material Log Report.
- ConstructionOnline™ Company Users with Daily Logging permissions set to "Cannot View" do not have access to Daily Logs or Daily Log Reports.
- ClientLink™ and TeamLink™ Users cannot generate Daily Log Reports.
- Mobile App: ConstructionOnline™ Reports, including Material Log Reports, cannot be created using the CO™ Mobile App. Creation of reports & documents is exclusively accessible via browser access to ConstructionOnline™ .
- Material Log Reports, as well as other reports & documents, are otherwise accessible for viewing, sharing, and/or downloading using the CO™ Mobile App.
HAVE MORE QUESTIONS?
- Frequently asked questions (FAQ) regarding Daily Logs can be found in the FAQ: Daily Logs article.
- If you need additional assistance, chat with a Specialist by clicking the orange Chat icon located in the bottom left corner or visit the UDA support page for additional options.