OBJECTIVE
To create a Project Template that can be used for new Projects in ConstructionOnline
BACKGROUND
ConstructionOnline™ is engineered to help construction companies streamline project management through the execution of scalable, repeatable processes. Project Templates group multiple project management elements together, offering a single standardized roadmap for project creation. Save valuable time during initial project setup by using Project Templates to instantly generate the project's Scope of Work, Estimate, Schedule, Selections, To Dos, Checklists, and more.
THINGS TO CONSIDER
- ConstructionOnline™ Project Templates are a property of the ConstructionOnline™ Company Account.
- Company Accounts can store an unlimited number of Project Templates.
- All Company Users have access to Company Project Templates from
- the Company Projects tab
(Overview > Company Projects > Templates > Project Templates)
- the Company Projects tab
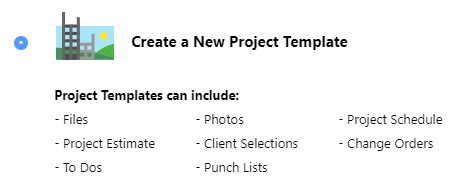
- Project Templates can include any of the following Project Elements: Contacts, Folders & Files, Albums & Photos, Punch Lists, Daily Logs, Change Orders, Estimate, Selections, Schedule, To Dos, and/or Checklists.
- Project Templates can only be accessed through ConstructionOnline™. Project Templates are not accessible via CO™ Mobile.

STEPS TO CREATE A PROJECT TEMPLATE
A. From an existing Project:
- Navigate to the desired Project via the Left Sidebar
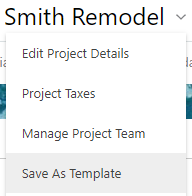
- Click the Project Name in the top-center of the page
- Select Save As Template
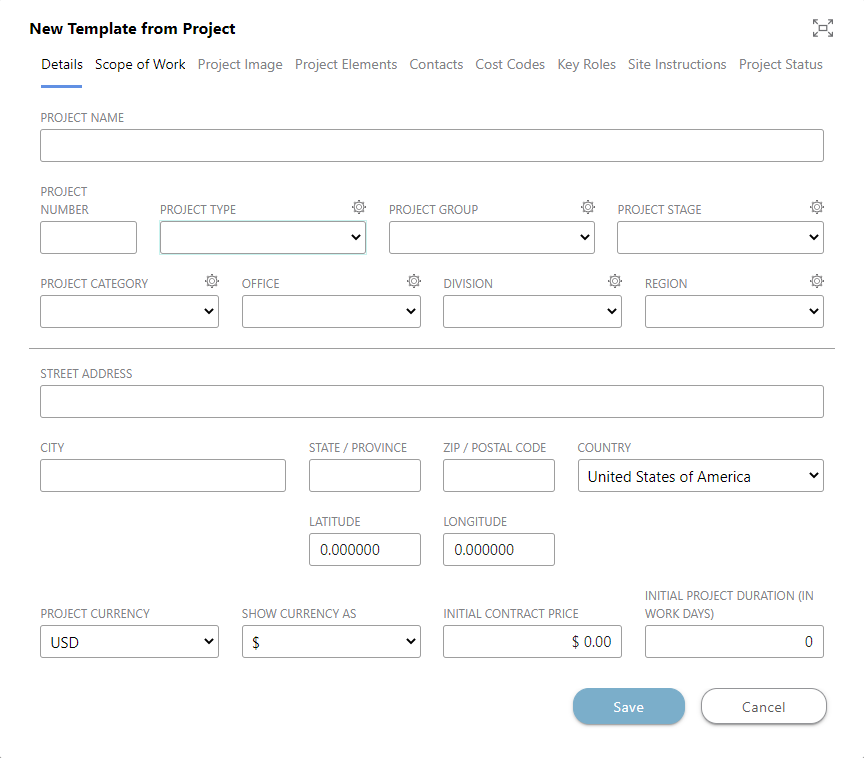
- This will open the New Template from Project window
- This will open the New Template from Project window
- Enter/Select the information to include in the Project Template, which comprises of:
- Details: Include Template Name, Project Number, Project Address, as well as Initial Contract Price and Initial Project Duration
- Scope of Work: Define the scope of the project with ConstructionOnline's comprehensive text editing tools, which include options for bulleted or numbered lists, hyperlinks, tables, and more.
- Project Image: Image will populate if included in Project. Users can Change Image to populate a different image or Clear Image to remove image altogether.
- Project Elements: Choose which Project Elements saved to the Project to include in the Template
- All Project Elements saved as part of the Project will be selected by default. Deselect to prevent inclusion in the Template.
- Elements not present within the Project will be greyed out.
- Contacts: Choose which Contacts to include as part of the Project Team on the new project
- Contacts saved as part of the Project Team on the Project will be automatically selected by default. Deselect to prevent inclusion on the Template's Project Team.
- All Company Employees, ClientLink™ Contacts, TeamLink™ Contacts, and Basic Contacts are accessible here for inclusion on the Template's Project Team.
- Cost Codes: If Cost Codes were saved to the Project, Cost Codes will be toggled "On" and the Cost Code List saved to the Project will be selected for use on the Template.
- Key Roles: Choose Key Roles for Project Team members and select to show in ClientLink™ and/or TeamLink™ Portals
- Key Role preferences saved on the Project will automatically populate by default, but may be altered here as needed for the Template.
- Site Instructions: Any jobsite instructions, notes, and other information saved to the Project will automatically populate here. Edit information or add details as needed for the Template.
- Project Status: Project will automatically be set to "Pending" or "Live" status based on the setting saved to the Project, however the status can be adjusted as appropriate for the Template being created.
- Templates are accessible for viewing and editing by all assigned Company Users.
- Click Save

B. Create a new Project Template from scratch:
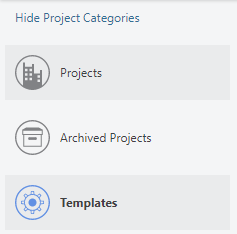
- Navigate to Company Overview via the Left Sidebar
- Choose Company Projects

- Select the Templates category
- Click the green + Add New button

- Choose Project Template on the module and click Confirm
- Enter/Select the information to include in the Project Template, which comprises of:
- Details: Include Template Name, Project Number, Project Address, as well as Initial Contract Price and Initial Project Duration
- Project Numbers are not automatically generated by ConstructionOnline™, allowing companies to apply the numbering schema that makes the most sense for their construction jobs.
- Custom organizational fields like Project Type, Group, Stage, Category, Office, Division, and Region are populated here. Click the gear icon next
 to any field heading to customize options available for that field.
- These fields can be used throughout ConstructionOnline™ to group Company Projects, sort Project Lists, and filter additional project data.
- Template Country defaults to the country designated within the Company's Account Details. However, the Country can be adjusted here for any project during creation.
- Updating the Projects Country automatically updates the Template's Currency
- Scope of Work: Define the scope of the Template in detail with ConstructionOnline's comprehensive text editing tools, which include options for bulleted or numbered lists, hyperlinks, tables, and more
- Cost Codes: Toggle "Cost Codes On" to apply a Cost Code List to the Template. Choose from Company Cost Code Lists.
- Key Roles: Choose Key Roles for Project Team members and select to show in ClientLink™ and/or TeamLink™ Portals
- ConstructionOnline™ provides a default list of Key Roles, and this list may be customized for your company by clicking on the gear icon
- ConstructionOnline™ provides a default list of Key Roles, and this list may be customized for your company by clicking on the gear icon
- Site Instructions: Enter jobsite instructions, notes, and other information that may be beneficial to members of the Project Team.
- Project Status: Set Project Status to manage project access, notifications, and invitations.
- Project Templates are accessible for viewing and editing by all Company Users.
- Details: Include Template Name, Project Number, Project Address, as well as Initial Contract Price and Initial Project Duration
- Click Save

HAVE MORE QUESTIONS?
- Frequently asked questions (FAQ) about Projects & Project Templates can be found in the article FAQ: Projects.
- If you need additional assistance, chat with a Specialist by clicking the orange Chat icon located in the bottom left corner or visit the UDA Support Page for additional options.