OBJECTIVE
To set a Project's Scope of Work in ConstructionOnline™
BACKGROUND
ConstructionOnline™ Projects centralize the management of critical information for individual construction jobs, making it easy for construction project teams to preserve the exact details of each individual project. Various Project Details are organized within Projects, including Project Name, Project Number, Project Type, Project Address, Project Currency, Initial Project Price, Project Scope of Work, Project Image, Project Key Roles, Project Site Instructions, Project Status, and more.
THINGS TO CONSIDER
- All Company Users have the ability to Edit Project's Scope of Work from Projects Set to Live.
- Company Admins and Project Creators can Edit Project's Scope of Work from Projects Set to Pending.
- If you are unsure if a Project is Set to Pending or Live, the Project Status can be Set/Edited from the Edit Project Details
- Project Scope of Work can be Edited through ConstructionOnline™, as well as CO™ Mobile.
STEPS TO SET SCOPE OF WORK
A. From the Project Name dropdown menu
- Navigate to the desired Project via the Left Sidebar
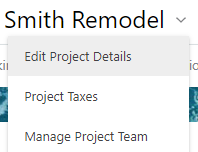
- Click the Project Name in the top-center of the page
- Select Edit Project Details from the dropdown menu
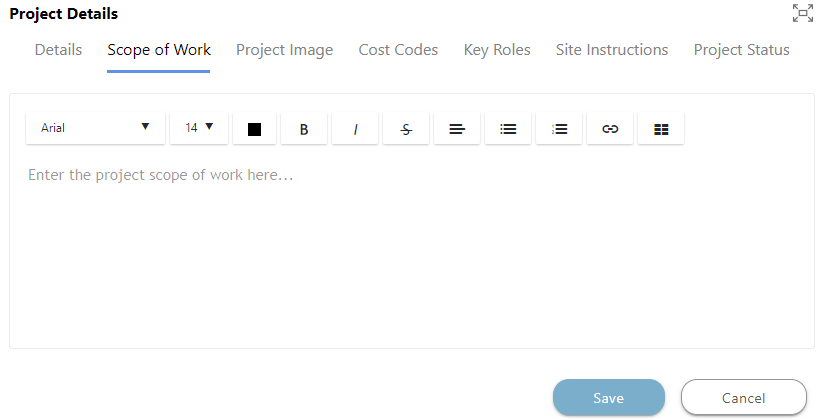
- This will open the Project Details Window
- Choose the Scope of Work tab
- Enter/Edit the Scope of Work
- Click Save
B. From the Project Overview tab
- Navigate to the desired Project via the Left Sidebar
- Select the Overview tab

- Locate the Project Details Sidebar on the left
- If you do not have the Project Details Sidebar, ensure it isn't hidden by clicking Show Project Details at the top-left of the Overview page
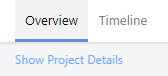
- If you do not have the Project Details Sidebar, ensure it isn't hidden by clicking Show Project Details at the top-left of the Overview page
- Click View Scope of Work in the Details section
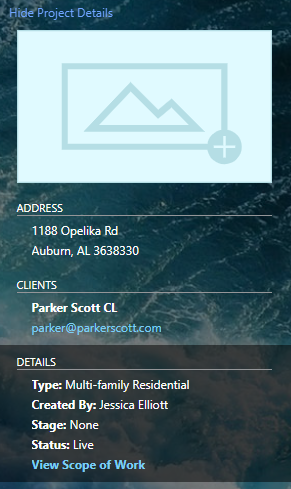
- This will open the Project Details Window
- Enter/Edit the Scope of Work
- Click Save
HAVE MORE QUESTIONS?
- Frequently asked questions (FAQ) about Projects can be found in the article FAQ: Projects.
- If you need additional assistance, chat with a Specialist by clicking the orange Chat icon located in the bottom left corner or visit the UDA Support Page for additional options.