BACKGROUND
ConstructionOnline OnCost™ Estimating––the industry's leading construction estimating software––gives construction pros the power to create detailed, accurate construction cost estimates and track project financial progress from start to finish. With automatic markup calculations, ConstructionOnline™ Company Users can choose when, where, and how markup is applied throughout an Estimate. Each Estimate Line Item can be assigned a markup value and dedicated markup type, making it easy to track profit and establish job pricing.
STEPS TO SET MARKUP FOR AN ESTIMATE ITEM
- Navigate to the desired Project via the Left Sidebar.
- Select the Financials tab, which will automatically open the Estimating category.
- Within the desired Estimate sheet, use the horizontal scroll bar to locate the Markup, Markup Type, and Markup Total columns.
- Markup, Markup Type, and Markup Total are default columns for the Advanced Estimating column view. If these columns are hidden within your current Estimate view, you will need to show the columns.
- Enter a markup value in the Markup cell for the selected Estimate Item.
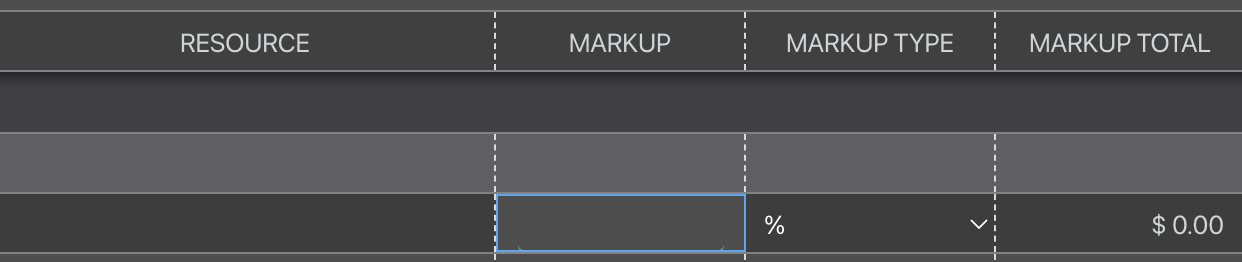
- The entered markup value must be a numerical value.
- ConstructionOnline will automatically adjust the format of your entered markup after a markup type method has been selected.
- In the Markup Type cell, use the dropdown menu to select a markup type.

- %: markup total is calculated as a percentage of the base cost.
- $: markup total is the markup value in currency form.
- This markup type does not take quantity into consideration.
- $/unit: markup total is calculated using markup value and quantity.
- This markup type takes quantity into consideration.
- Classification Markups Applied: the entered markup value will use predetermined Classification markups. To use this markup type, a Classification must already be assigned to the Estimate Line Item.
- Once markup and markup type for an Estimate Item has been entered, ConstructionOnline will automatically calculate the total and store it in the Markup Total cell.
ADDITIONAL INFORMATION
- In a Standard 3-Level Estimate, markup cannot be directly applied to an Estimate Category or Subcategory. However, the Estimate will display the total markup for each Subcategory in the column Markup Total.
- Markup cannot be directly applied to individual lines on the Selections, Change Orders, or Takeoff Estimate sheets.
- While markup can also be applied to the individual lines on the Company Overhead and Margin sheet, the markup types are different than the ones detailed in the steps listed above.
- More information about the different markup types can be found in Understanding Company Overhead and Margin. Step-by-step instructions for setting Company Overhead and Margin can also be found here.
- Permissions: Company Users must have Estimating Permissions set as "Can Create, Edit, & Delete" to apply markup to individual Estimate Line Items.
- Mobile App: Managing an OnCost™ Estimate is exclusively accessible via browser access to ConstructionOnline. Estimates are only available in View-Only Mode on the ConstructionOnline Mobile App.
Remember: The order of calculating markup and tax is determined in Estimate Tax Settings. The chosen Calculation Method in Estimate Tax Settings will determine when markup is calculated. Each method may not result in the same contract price:
- Tax then Markup: tax is applied to the base cost of the item, THEN markup is added.
- Markup then Tax: markup is added to the base cost of the item, THEN tax is calculated based off the adjusted cost.
- Tax and Markup Separate: tax and markup are calculated separately, THEN added to the base cost of the item.
HAVE MORE QUESTIONS?
- Frequently asked questions (FAQ) regarding OnCost Estimating can be found in the FAQ: Estimating article.
- If you need additional assistance, chat with a Specialist by clicking the orange Chat icon located in the bottom left corner or visit the UDA support page for additional options.