OBJECTIVE
To review and publish Sheets in Redline Planroom
BACKGROUND
Redline™ Planroom for ConstructionOnline offers plan-centric project management, allowing construction teams to upload, markup, and collaborate directly to construction drawings. When uploading plans to Redline™ Planroom, UDA's proprietary machine learning technology automatically detects sheet numbers, sheet names, and callouts within the plan set. This powerful automation saves construction pros hours and eliminates tedious data entry - all that's left to do is review the information for accuracy and completion!
THINGS TO CONSIDER
- Permissions: ConstructionOnline™ Company Users must have Redline Planroom permissions set to "Can Add & Update Plans" to upload and/or review plan sets.
- ClientLink™ and TeamLink™ Users can view plans that have been shared with them when access to Redline Planroom has been enabled within ClientLink™ and/or TeamLink™ Settings.
- Mobile App: Published plan sets can be access via CO™ Mobile.
- Review the Redline Sheet Requirements to ensure your plans are scanned correctly.
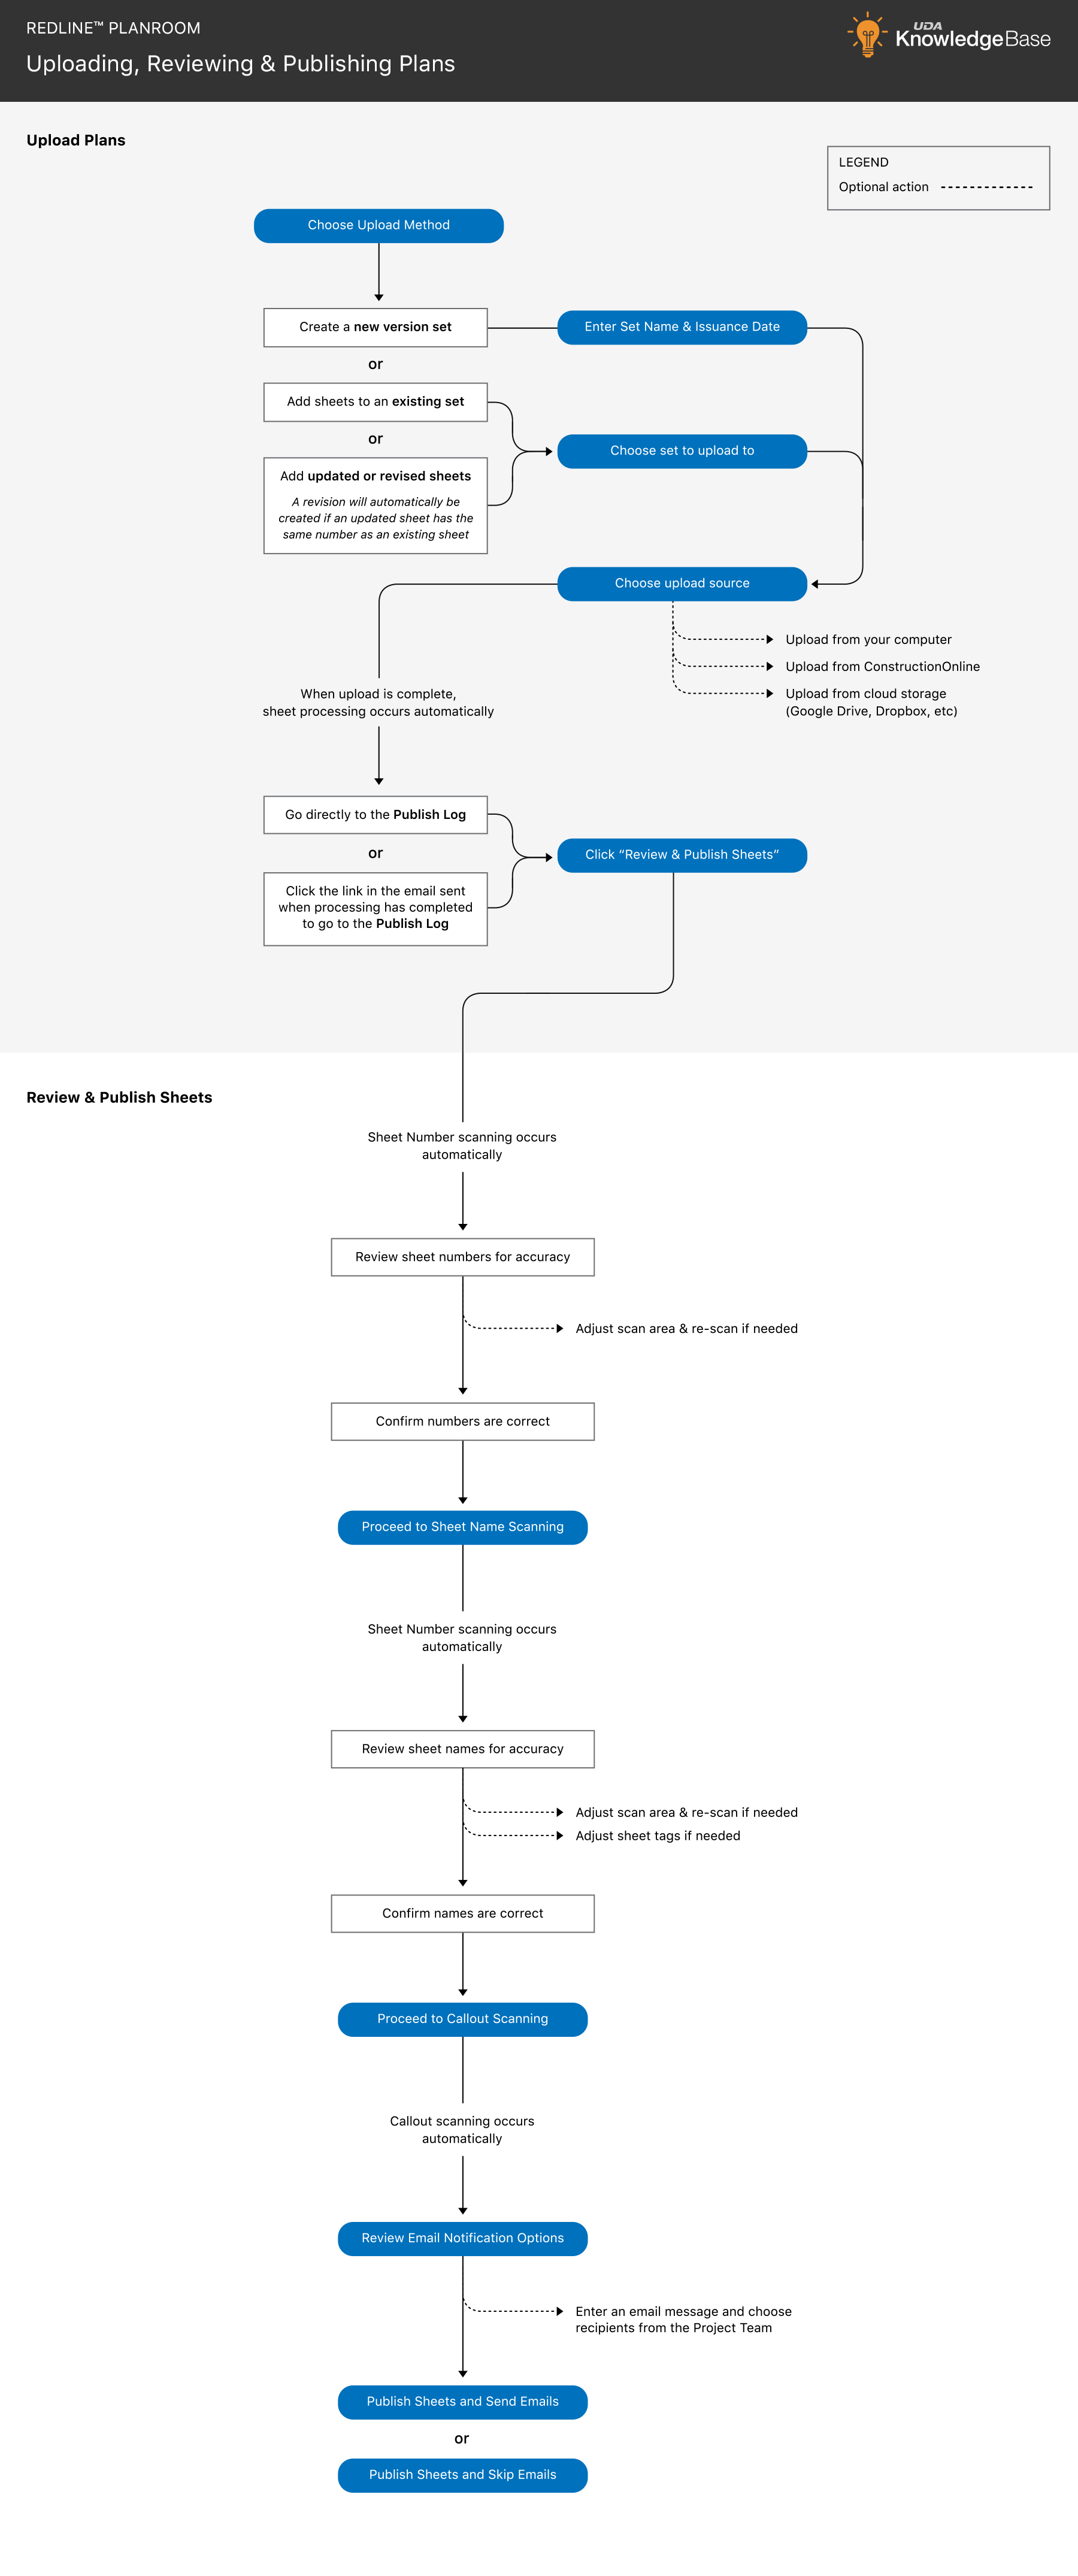
STEPS TO ADD DRAWINGS IN REDLINE PLANROOM
- Navigate to the desired project via the Left Sidebar
- Select the Redline Planroom tab
- Upload Sheets to Redline
- Choose the Publish Log category
- All drawings pending review will be stored in the Publish Log
- Select Review & Publish Sheets
- If multiple Sheets were included in an upload, click the top Sheet to review, all Sheets associated with the upload will be included
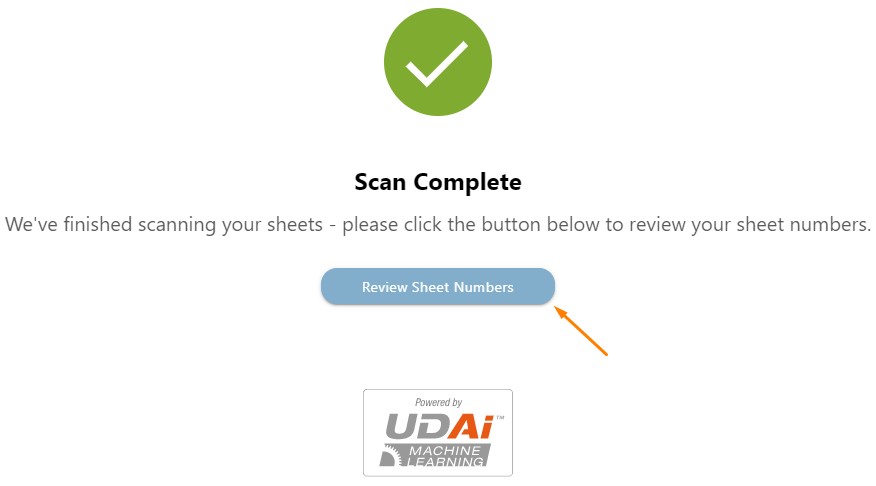
- UDAi will scan all Sheets, click Review Sheet Numbers when this process is complete
- Review & edit Sheet Numbers
- UDAi will locate Sheet Numbers that have been formatted in accordance with
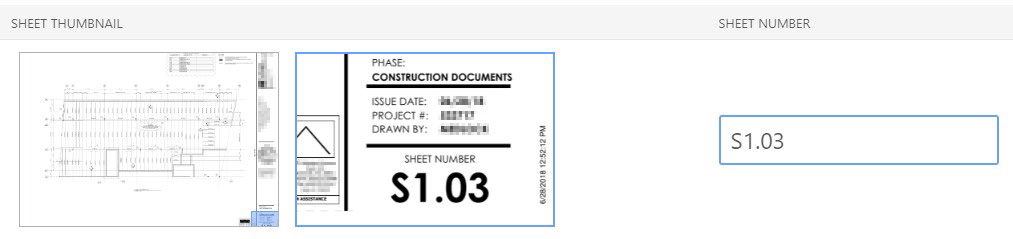
- If editing of the Sheet Numbers is needed, click on the right thumbnail to to scan the appropriate location
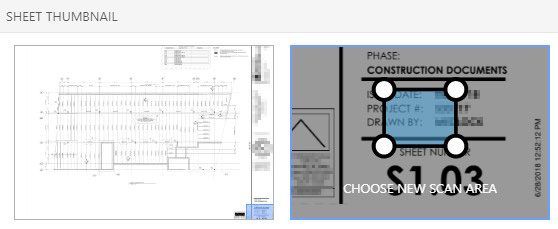
- Zoom and adjust the Sheet to the Sheet Number location
- Click Select Scan Area

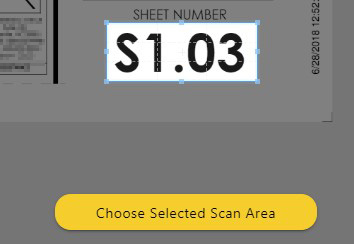
- Click & drag around the Sheet Number to select the appropriate area
- Be sure to highlight only the characters you want included in the Sheet Number
- Click Choose Selected Scan Area when satisfied with the selection
- Confirm the Sheet Number Scan Area by selecting if this selection should apply only to 1 Sheet or all Sheets

- UDAi will locate Sheet Numbers that have been formatted in accordance with
- Edit any non-unique Sheet Numbers highlighted in red
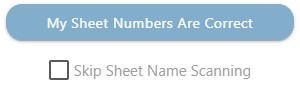
- When satisfied, click My Sheet Numbers Are Correct
- Here you can also check the box to Skip Sheet Name Scanning
- Here you can also check the box to Skip Sheet Name Scanning
-
UDAi will scan all Sheets, click Review Sheet Numbers when this process is complete

- Review & edit Sheet Names
- UDAi will locate Sheet Names that have been formatted in accordance with
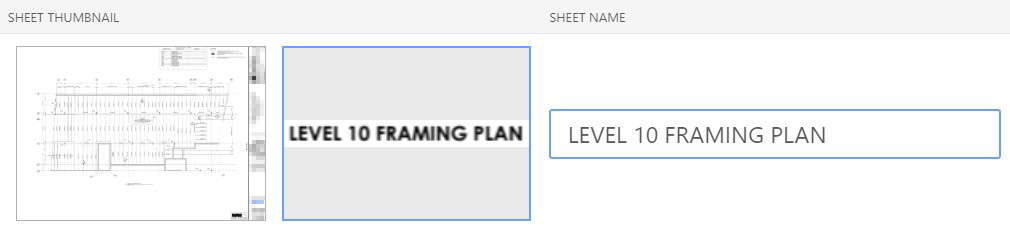
- If editing of the Sheet Names is needed, click on the right thumbnail to to scan the appropriate location
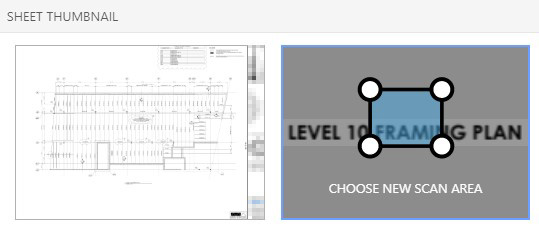
- Zoom and adjust the Sheet to the Sheet Number location
- Click Select Scan Area

- Click & drag around the Sheet Number to select the appropriate area
- Be sure to highlight only the characters you want included in the Sheet Number
- Click Choose Selected Scan Area when satisfied with the selection
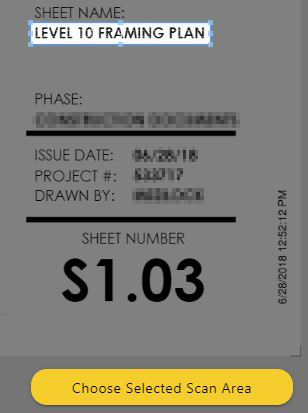
- Confirm the Sheet Number Scan Area by selecting if this selection should apply only to 1 Sheet or all Sheets

- UDAi will locate Sheet Names that have been formatted in accordance with
- When satisfied, click My Sheet Names Are Correct

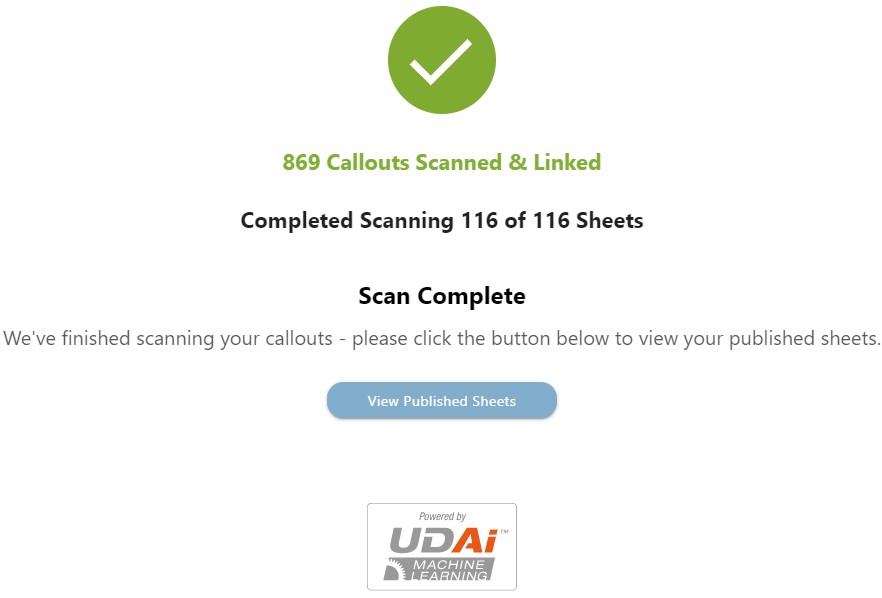
- UDAi will scan all Sheets for Callouts, when complete, click View Published Sheets
HAVE MORE QUESTIONS?
- Frequently asked questions (FAQs) about Redline Planroom can be found in the article FAQ: Redline Planroom.
- If you need additional assistance, chat with a Specialist by clicking the orange Chat icon located in the bottom left corner or visit the UDA support page for additional options.