OBJECTIVE
To create a Blank Schedule in ConstructionOnline.
BACKGROUND
ConstructionOnline offers the world's fastest online Scheduling, providing your team with a powerful suite of tools to accurately and efficiently plan your Project's timeline, as well as maintain that accuracy throughout the duration of the Project. Scheduling is a live feature and updates as changes are made, ensuring your project team is seeing the most up to date information.
THINGS TO CONSIDER
- Gantt and List Views are available for viewing Schedules.
- You can create Schedules within a Project or in the Company Overview.
- Save Schedules as Templates to use as an outline for building future Schedules.
- Company Users*, ClientLink Users*, and TeamLink Users* must have permissions set to access Schedules.
STEPS TO CREATE A BLANK SCHEDULE
- Navigate to the desired Project via the Left Sidebar
- Select the Calendars & Schedules tab
- Choose the Scheduling category
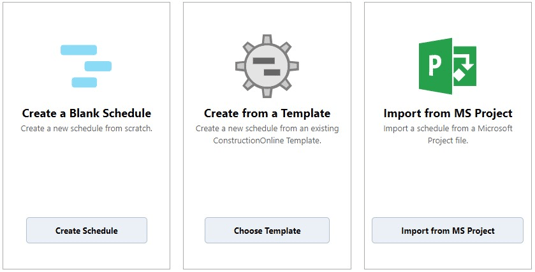
- Click the Create Schedule button in the Create a Blank Schedule pane
- This will open the Create a Blank Schedule window
- In the Create a Blank Schedule window:
- Enter the Schedule name
- Related Project will be the Project you're creating the Schedule in
- If the Project has an assigned Cost Code List, it will apply to the Schedule
- Assign Company Users that can edit the schedule
- Choose what Company Users can view the schedule
- Click Save
HAVE MORE QUESTIONS?
- Frequently asked questions (FAQ) regarding OnPlan Scheduling can be found in the FAQ: Scheduling article.
- If you need additional assistance, chat with a Specialist by clicking the orange Chat icon located in the bottom left corner or visit the UDA support page for additional options.