OBJECTIVE
To attach Files to a Takeoff Sheet
BACKGROUND
Manage your jobs efficiently with real-time collaboration based on the most up-to-date information available. Give everyone on your team - from foremen to architects to subs - centralized project plans, tasks, documents and more. Redline™ Planroom gives you the tools you need to connect office and field, so you can build better, faster and smarter.
THINGS TO CONSIDER
- Company users must have a license to access Redline Takeoff.
- Review the Redline Sheet Requirements to ensure your plans are scanned correctly.
STEPS TO ATTACH FILES TO A SHEET
A. Via right-click on the Sheet:
- Navigate to the desired project via the Left Sidebar
- Select the Takeoff category
- Right-click on the desired sheet
- Choose Edit Sheet from the dropdown menu
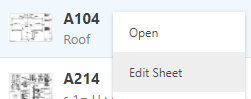
- This will open the Edit Sheet Information window
- Choose the Attachments tab
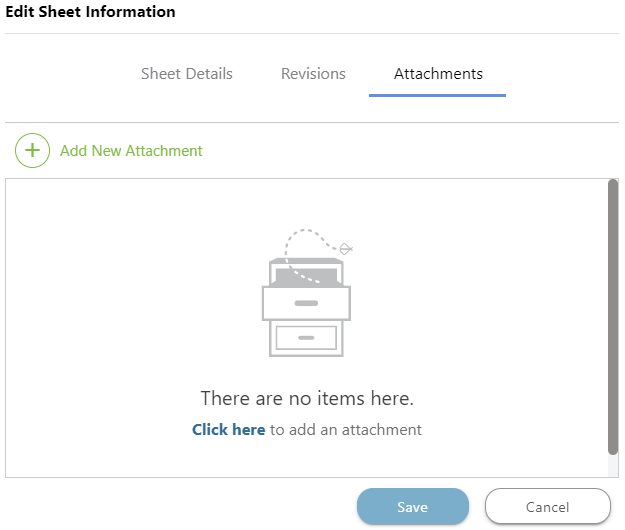
- Click the green +Add New Attachment button
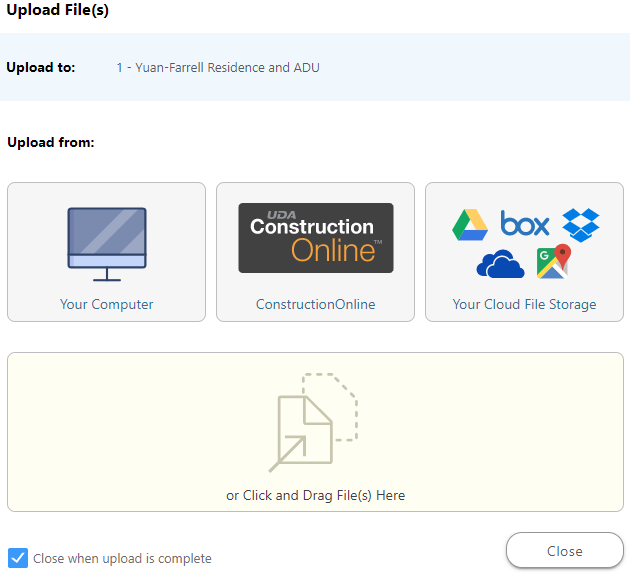
- This will open the Upload Files window
- Choose where to upload your File from or drag & drop it in the window
B. On the open Sheet:
- Navigate to the desired project via the Left Sidebar
- Select the Takeoff category
- Click on the desired Sheet
- The Sheet will open in a new tab
- Click the Information icon on the right sidebar

- Locate the Attachments pane

- Click the blue Click here
- This will open the Upload Files window
- Choose where to upload your File from or drag & drop it in the window
HAVE MORE QUESTIONS?
- Frequently asked questions (FAQs) about Redline Takeoff can be found in the article FAQ: Redline Takeoff.
- If you need additional assistance, chat with a Specialist by clicking the orange Chat icon located in the bottom left corner or visit the UDA support page for additional options.