Add Selections to an Opportunity
OBJECTIVE
To add Selections to an Opportunity in ConstructionOnline.
BACKGROUND
The purpose of Opportunities is to give you a space to build out financial requirements and retain important details for potential Projects you have not yet won. Opportunities offers Estimates, Selections, Invoicing, Takeoff, and more to ensure you're able to bid and win jobs without impacting your Project limit.
THINGS TO CONSIDER
- You can create as many Categories, Selections, & Selection Choices as you wish.
- Generate an All Sections Report in the Financial Reports category.
STEPS TO ADD SELECTIONS TO AN OPPORTUNITY
- Navigate to Opportunities via the Left Sidebar

- Right-click on the desired Opportunity
- Select Manage Content from the dropdown menu

- Click the Financials tab at the top left of the page

- Choose the Client Selections category

- Click the green +Add New Category button

- This will open the New Category window
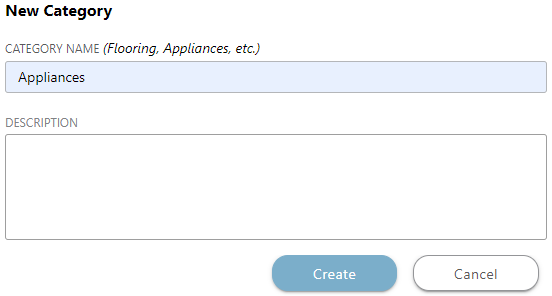
- Enter the Category Name & Description then click Create
- Locate the Category in the Selections Details pane
- Click the green +Add Selection button beneath the Category to add Selections
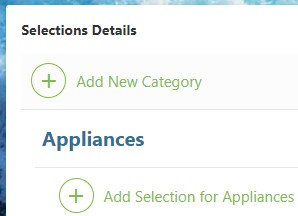
- This will open the New Selection window
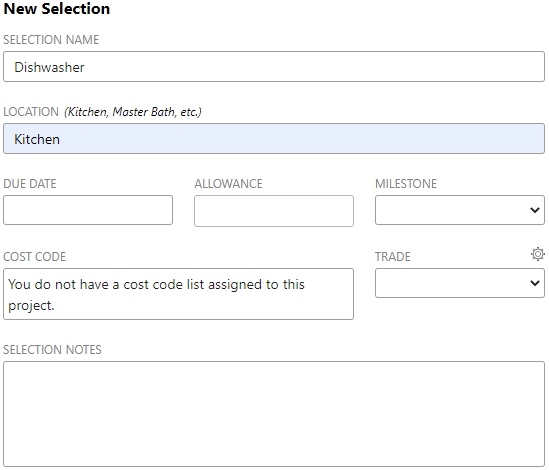
- Enter the Selection Name, Location, Due Date, Allowance, Milestone, Cost Codes, Trade, and/or any additional Notes
- Click Create
- To add Choices to your Selection, click the green +Add Selection Choice button
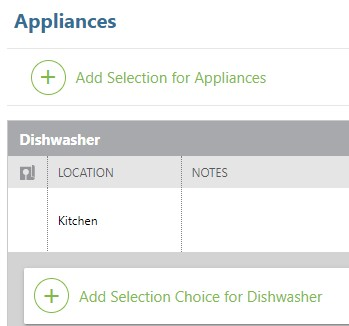
- This will open the New Selection window
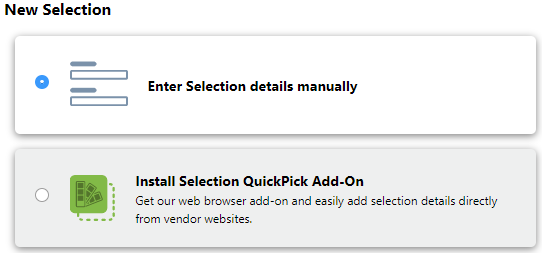
- Choose to enter Selection details manually or use the QuickPick Add-On
- Verify that the Details, Price, & Images are correct
- Click Create
For additional resources about Selections, visit Knowledge Base > Client Selections
HAVE MORE QUESTIONS?
- Frequently asked questions (FAQ) about Opportunities can be found in the article FAQ: Opportunities.
- If you need additional assistance, chat with a Specialist by clicking the orange Chat icon located in the bottom left corner or visit the UDA Support Page for additional options.