Edit Photos
OBJECTIVE
To edit a Photo in ConstructionOnline™.
BACKGROUND
Photos uploaded to ConstructionOnline might need a little adjustment, like rotation, focus or brightness. With ConstructionOnline's extensive Editing tools, you'll be able to put the perfect touch on your Projects' Images and keep track of your project progress.
THINGS TO CONSIDER
- ConstructionOnline™ Photos are a property of the ConstructionOnline™ Company Account.
- Company Accounts can store an unlimited number of Photos.
- You can filter Photos by Contacts to make it easier to keep track of your project photos when you have several team members taking photos on the job site.
- Photos can be uploaded and accessed from CO™ Mobile.
- The photos uploaded to the mobile app will show up in your project photo stream.
STEPS TO EDIT AN IMAGE
- Navigate to the desired project via the Left Sidebar
- Select the Photos tab

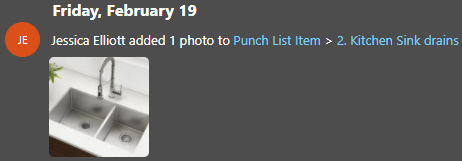
- Click the Thumbnail of the Photo you wish to edit

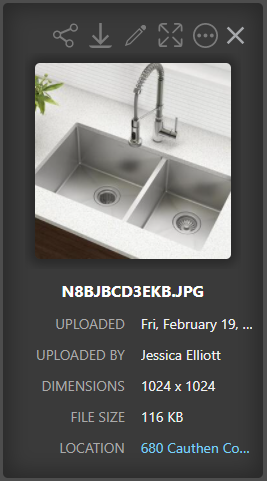
- This will open the Photo's details to the right

- Click the pencil icon above the Photo

- This will open the Photo
- Make desired adjustments
- Click Save at the top right

HAVE MORE QUESTIONS?
- Frequently asked questions (FAQ) about Files & Photos can be found in the article FAQ: Files & Photos.
- If you need additional assistance, chat with a Specialist by clicking the orange Chat icon located in the bottom left corner or visit the UDA support page for additional options.