OBJECTIVE
To customize the text for project invitation emails sent to ClientLink™ and TeamLink™ Contacts.
BACKGROUND
ConstructionOnline's Project Portals allow construction companies to invite clients, subcontractors, vendors, and more to individual project teams. With separate Portal designations for ClientLink™ and TeamLink™ Contacts, Company Employees can customize what project information is available via Portal login for clients & subcontractors respectively. Companies can personalize the Portal experience from the very beginning by customizing the text that appears in project invitation emails.
THINGS TO CONSIDER
- Company Employees can customize the body of the email that is sent to invite ClientLink™ or TeamLink™ Contacts to a project.
- Without customization, project invitation emails will use default text provided by ConstructionOnline.
- All Company Employees can view and edit the text of project invitation emails.
- Project invitation emails are designed for global Company use—only one ClientLink & one TeamLink project invitation email can exist at a time for the Company Account.
- If a Company Employee edits the text of an invitation, the changes will be applied company-wide.
- To use custom project invitation emails, ClientLink and/or TeamLink Contacts must be added to a Project that is set to Live.
- ClientLink/TeamLink Settings cannot be accessed from the ConstructionOnline Mobile App.
STEPS TO CUSTOMIZE PROJECT INVITATION EMAILS
- Locate the Company Dropdown Menu found in the top right corner of ConstructionOnline.
- Under Public Profile & Portals, select ClientLink/TeamLink Settings.
- Select the Email Message tab.
- Enter the desired text for the ClientLink or TeamLink Project Invitation in the corresponding Message Content field.
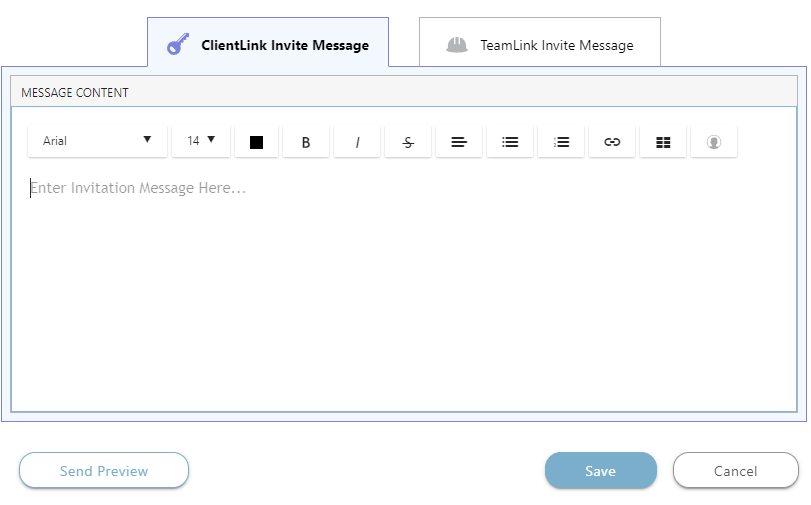
- To view your custom project invitation before sending, click the Send Preview button.
- Select a contact to receive the preview. Only Company Employees are permitted to receive the invitation preview.
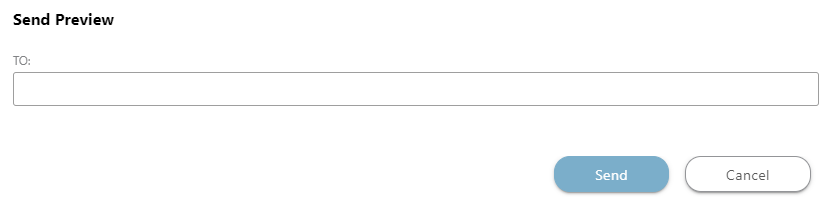
- Click the blue Send button.
- Select a contact to receive the preview. Only Company Employees are permitted to receive the invitation preview.
- To view your custom project invitation before sending, click the Send Preview button.
- Click the blue Save button to save your custom project invitations for future use.
TIPS & TRICKS
- For a more personal touch, try adding a variable to your email text!
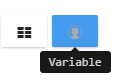

- When a project invitation is sent, variables will automatically populate with the recipient's contact information.
-
- Variable choices include: Contact Full Name, Contact First Name, and Contact Last Name.
HAVE MORE QUESTIONS?
We're here to help! Chat with a Specialist by clicking the orange Chat icon in the bottom left corner or contact UDA support for additional options.