BACKGROUND
As the industry's leading construction management software, ConstructionOnline™ helps construction pros expertly manage their construction projects from start to finish. In addition to ConstructionOnline's powerful financial & project management tools, ConstructionOnline also allows users to directly generate professional-looking proposals, reports, contracts, and documents from important project data & information. These reports & documents can be further personalized with the addition of Default Text Blocks, which allow users to insert customized blocks of text above and below the main section of the document. Default Text Blocks can be used to insert terms & conditions, work agreement terms, additional statements, general notes, signature lines, and more.
This article contains the following sections:
- Step-by-step instructions for creating Default Text Blocks
- How to apply Default Text Blocks
- Additional information
STEPS TO CREATE DEFAULT TEXT BLOCKS
A. Using the OnPoint™ Proposal Wizard (Estimate Proposals only)
- Navigate to the desired Project via the Left Sidebar.
- Select the Financials tab, then choose the Financial Reports category.
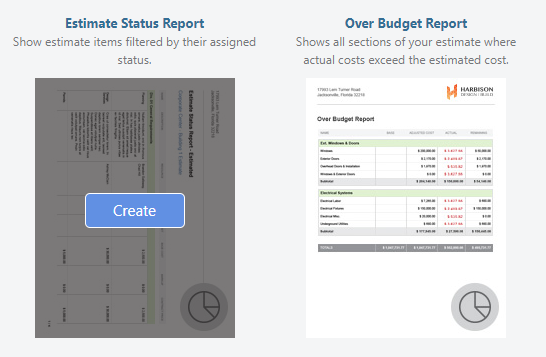
- Within the OnPoint™ Proposal Wizard section, hover over the desired Estimate Proposal and then click the blue Create button.
- Scroll down to the Default Text Blocks section, then select Manage Default Text Blocks.

- Click the green + Add New Text Block button.
- Under Text Block Title, enter a title for the new Text Block.
- Please note that this title is only used to label the Text Block and will not appear on any reports or documents.
- Under Selected Block Content, enter the content for the Text Block.
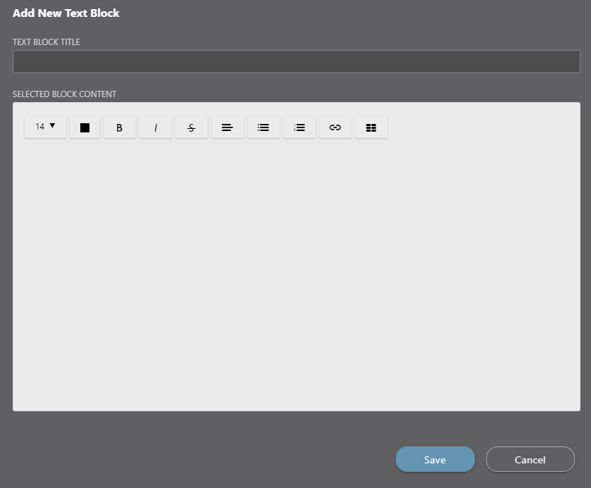
- Click the initial blue Save button, then click the second Save button.
B. Within any other ConstructionOnline Financial Report
- Navigate to the desired Project via the Left Sidebar.
- Select the Financials tab, then choose the Financial Reports category.
- Hover over the desired Financial Proposal, then click the blue Create button.
- Select the Default Text tab, then select the Manage Default Text Blocks button.
- Click the green + Add New Text Block button.
- Under Text Block Title, enter a title for the new Text Block.
- Please note that this title is only used to label the Text Block and will not appear on any reports or documents.
- Under Selected Block Content, enter the content for the Text Block.
- Click the initial blue Save button, then click the second Save button.
APPLYING DEFAULT TEXT BLOCKS
Within the Default Text Block tab or section,
- Mark the checkbox "Text will appear _______ the main document content".
- Select the specific Text Block title from the provided dropdown menu.
- Continue customizing the report or click the blue Create button to generate the report.
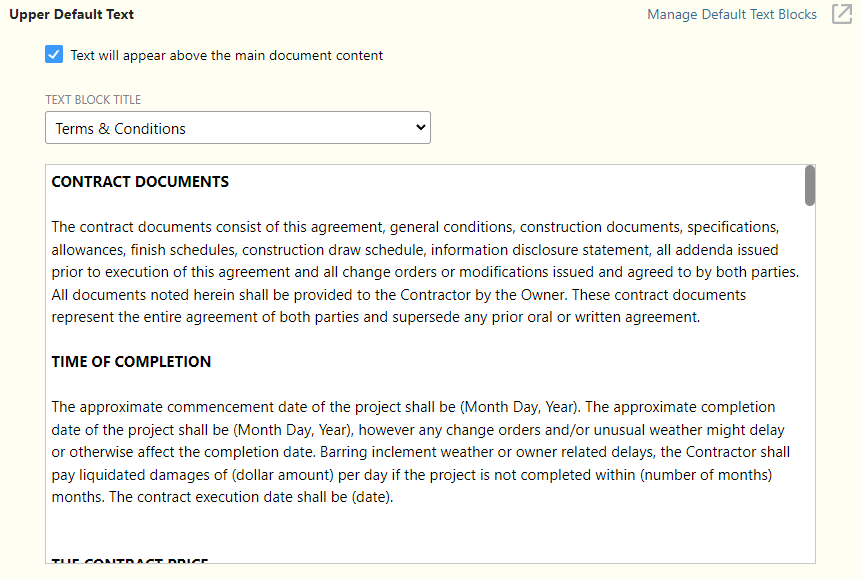
Default Text Blocks can be added above and/or below the main document text!
ADDITIONAL INFORMATION
- Default Text Blocks are only accessible when generating a ConstructionOnline Report or Document.
- Default Text Blocks can be added to most Financial and Communication Reports.
- Please note that some ConstructionOnline reports & documents do not have the option to add Default Text Blocks.
- Permissions: Default Text Blocks are stored within the ConstructionOnline Company Account—meaning Default Text Blocks can be created, edited, or deleted by any Company User within the Company Account.
- ClientLink/TeamLink Access: ClientLink™ and TeamLink™ Users cannot access Default Text Blocks.
- Mobile App: Default Text Blocks are not accessible from the CO™ Mobile App. Creation of Default Text Blocks is exclusively available via browser access to ConstructionOnline.
HAVE MORE QUESTIONS?
We're here to help! Chat with a Specialist by clicking the orange Chat icon in the bottom left corner or Contact UDA Support for additional options.