OBJECTIVE
To add a Gallery to your Company Public Profile.
BACKGROUND
ConstructionOnline provides every company with a Company Public Profile: a unique, single-page webpage that acts as both a customizable landing page and a login page for ClientLink™ and TeamLink™ Contacts. Company Admin Users are responsible for customizing and maintaining the Company Public Profile, which can be used to grow business, capture new leads, and promote the company online. During customization, Company Admin Users can add customized image galleries to the Company Public Profile.
THINGS TO CONSIDER
- Galleries allow a Company to showcase previous or current company projects to potential clients.

- Galleries can contain multiple images; click the gallery's cover image to browse through the entire image album.
- View a sample Public Profile with galleries.
- The following image file types are acceptable for upload: jpeg, bmp, tiff, & png.
- The Company Public Profile cannot be customized using the ConstructionOnline Mobile App.
STEPS TO ADD A GALLERY TO YOUR PUBLIC PROFILE
- Locate the Company Dropdown Menu found in the top right corner of ConstructionOnline.
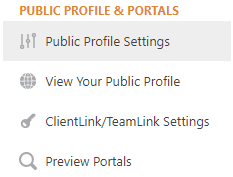
- Under Public Profile & Portals, select Public Profile Settings.
- Choose the Galleries tab.
- Click the green Add Project Gallery button.
- Type the new gallery name into the provided text field.
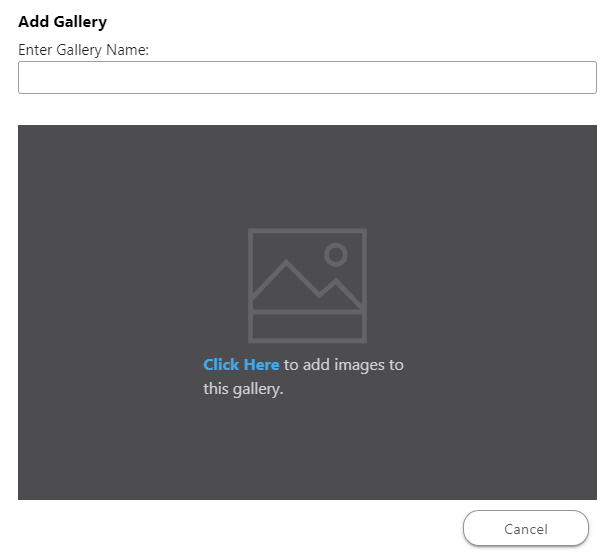
- Select Click Here to add images to the new gallery.
- Select the image upload location from the options listed:
- Your Computer: if the image is stored somewhere in your computer documents, downloads, etc.
- ConstructionOnline: if the image has already been uploaded somewhere on ConstructionOnline such as Company Files or My Files.
- Your Cloud File Storage: if the image is stored in one of the Cloud storage platforms available to integrate with ConstructionOnline such as Google Drive, box, OneDrive, or Dropbox.
- OR drag and drop the image(s) directly into the window.
- Click the blue Save button to save your new gallery.
- Remember: You can click the Preview button to view your changes before saving. Try using it after Step 7 to view how the new gallery will appear on your Company Public Profile.
TIPS & TRICKS
- When uploading images during Step 7, try using one of your device's hotkey shortcuts to select multiple images at once!
- Windows: hold down the Ctrl key and select the desired images.
- macOS: hold down the Command key and select the desired images.
- After a gallery is created, additional customizations are possible:
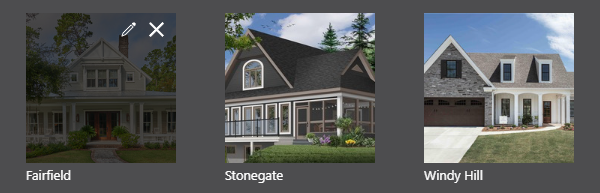
- Delete the gallery: hover over the gallery icon and click the white X icon.
- Edit the gallery: hover over the gallery icon and click the white pencil icon.
- Select album cover image for gallery: after clicking the pencil icon, right-click the desired image and select the option Make Album Cover.
- Add image captions: after clicking the pencil icon, select an image and type the desired caption into the provided text field.
- Add new image to gallery: after clicking the pencil icon, click the grey (+) icon to add a new image.
- Delete gallery image: after clicking the pencil icon, right-click the desired image and select the option Remove Image.
- Remember to click the blue Save button after any changes are made to the gallery!
HAVE MORE QUESTIONS?
We're here to help! Chat with a Specialist by clicking the orange Chat icon in the bottom left corner or Contact UDA Support for additional options.