OBJECTIVE
To create an All Selections Report in ConstructionOnline.
THINGS TO CONSIDER
-
Approved, Rejected, and Pending Selections will appear in the All Selections Report
STEPS TO CREATE AN ALL SELECTIONS REPORT
A. From the Financial Reports category:
- Navigate to the desired Project via the Left Sidebar
- Select the Financials tab
- Choose the Financial Reports category
- Click the Selections tab at the top right of the Financial Reports pane

- Hover over the Selection Book & click Create
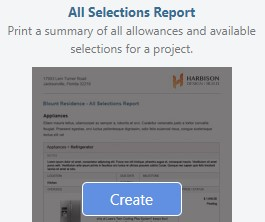
- This will open the Create All Selections Report window
- Filter the selections by Category, Vendor, and/or Location if you wish
- Click Create
- The All Selections Report will open in a new tab
- You can Share, Save, Download, Edit, or Print the Report from this tab

B. From the Client Selections category:
- Navigate to the desired Project via the Left Sidebar
- Select the Financials tab
- Choose the Client Selections category
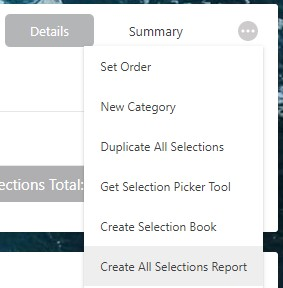
- Click the gray 3-Dot Action Menu at the top right of the Selections pane

- Select Create All Selections Report from the dropdown menu
- This will open the Create All Selections Report window
- Filter the selections by Category, Vendor, and/or Location if you wish
- Click Create
- The All Selections Report will open in a new tab
- You can Share, Save, Download, Edit, or Print the Report from this tab
HAVE MORE QUESTIONS?
- Frequently asked questions (FAQ) about Client Selections can be found in the article FAQ: Client Selections.
- If you need additional assistance, chat with a Specialist by clicking the orange Chat icon located in the bottom left corner or visit the UDA support page for additional options.